
How to Make Test Tiles for Testing New Glazes
I packed the book so full of information it was way too long 🙈it had to be cut down - so I decided to share this chapter with you on my blog instead - hurrah! Pre- order the book here.
Always test your glazes before applying them to your work.
It’s really frustrating to glaze a big batch of work for it to not turn out the way you’d expect. Combining two or more glazes together is a great way of creating a unique glaze but as we’re working with chemistry you never quite know how mixed glazes will react. Some glazes, when combined can get extremely runny. I make test tiles to use with all new glazes, I test out new colours and new combinations before they go anywhere near my pots. Remember glazes can look very different depending on the clay you’re using so its worth testing a new glaze on each type of clay you use. Test tiles save using precious pots you’ve just spent ages creating and space in the kiln. Plus they’re really easy to make. In this blog post I’ll show you how to make test tiles via hand building and wheel thrown methods. I normally throw mine on the wheel, making a cylinder without a bottom measuring 5 inches wide x 2.5 inches tall (14 cm wide x 6 cm tall). I can get about 14 test tiles from this size.
Pro Tip: I always use an underglaze pencil to write the name of each glaze on the bottom of each tile, so I remember which tile is which glaze. I also like to keep a detailed notebook of all of my glazes and the firing schedules next to my kiln.
How to Make Test Tiles (by Hand-building)
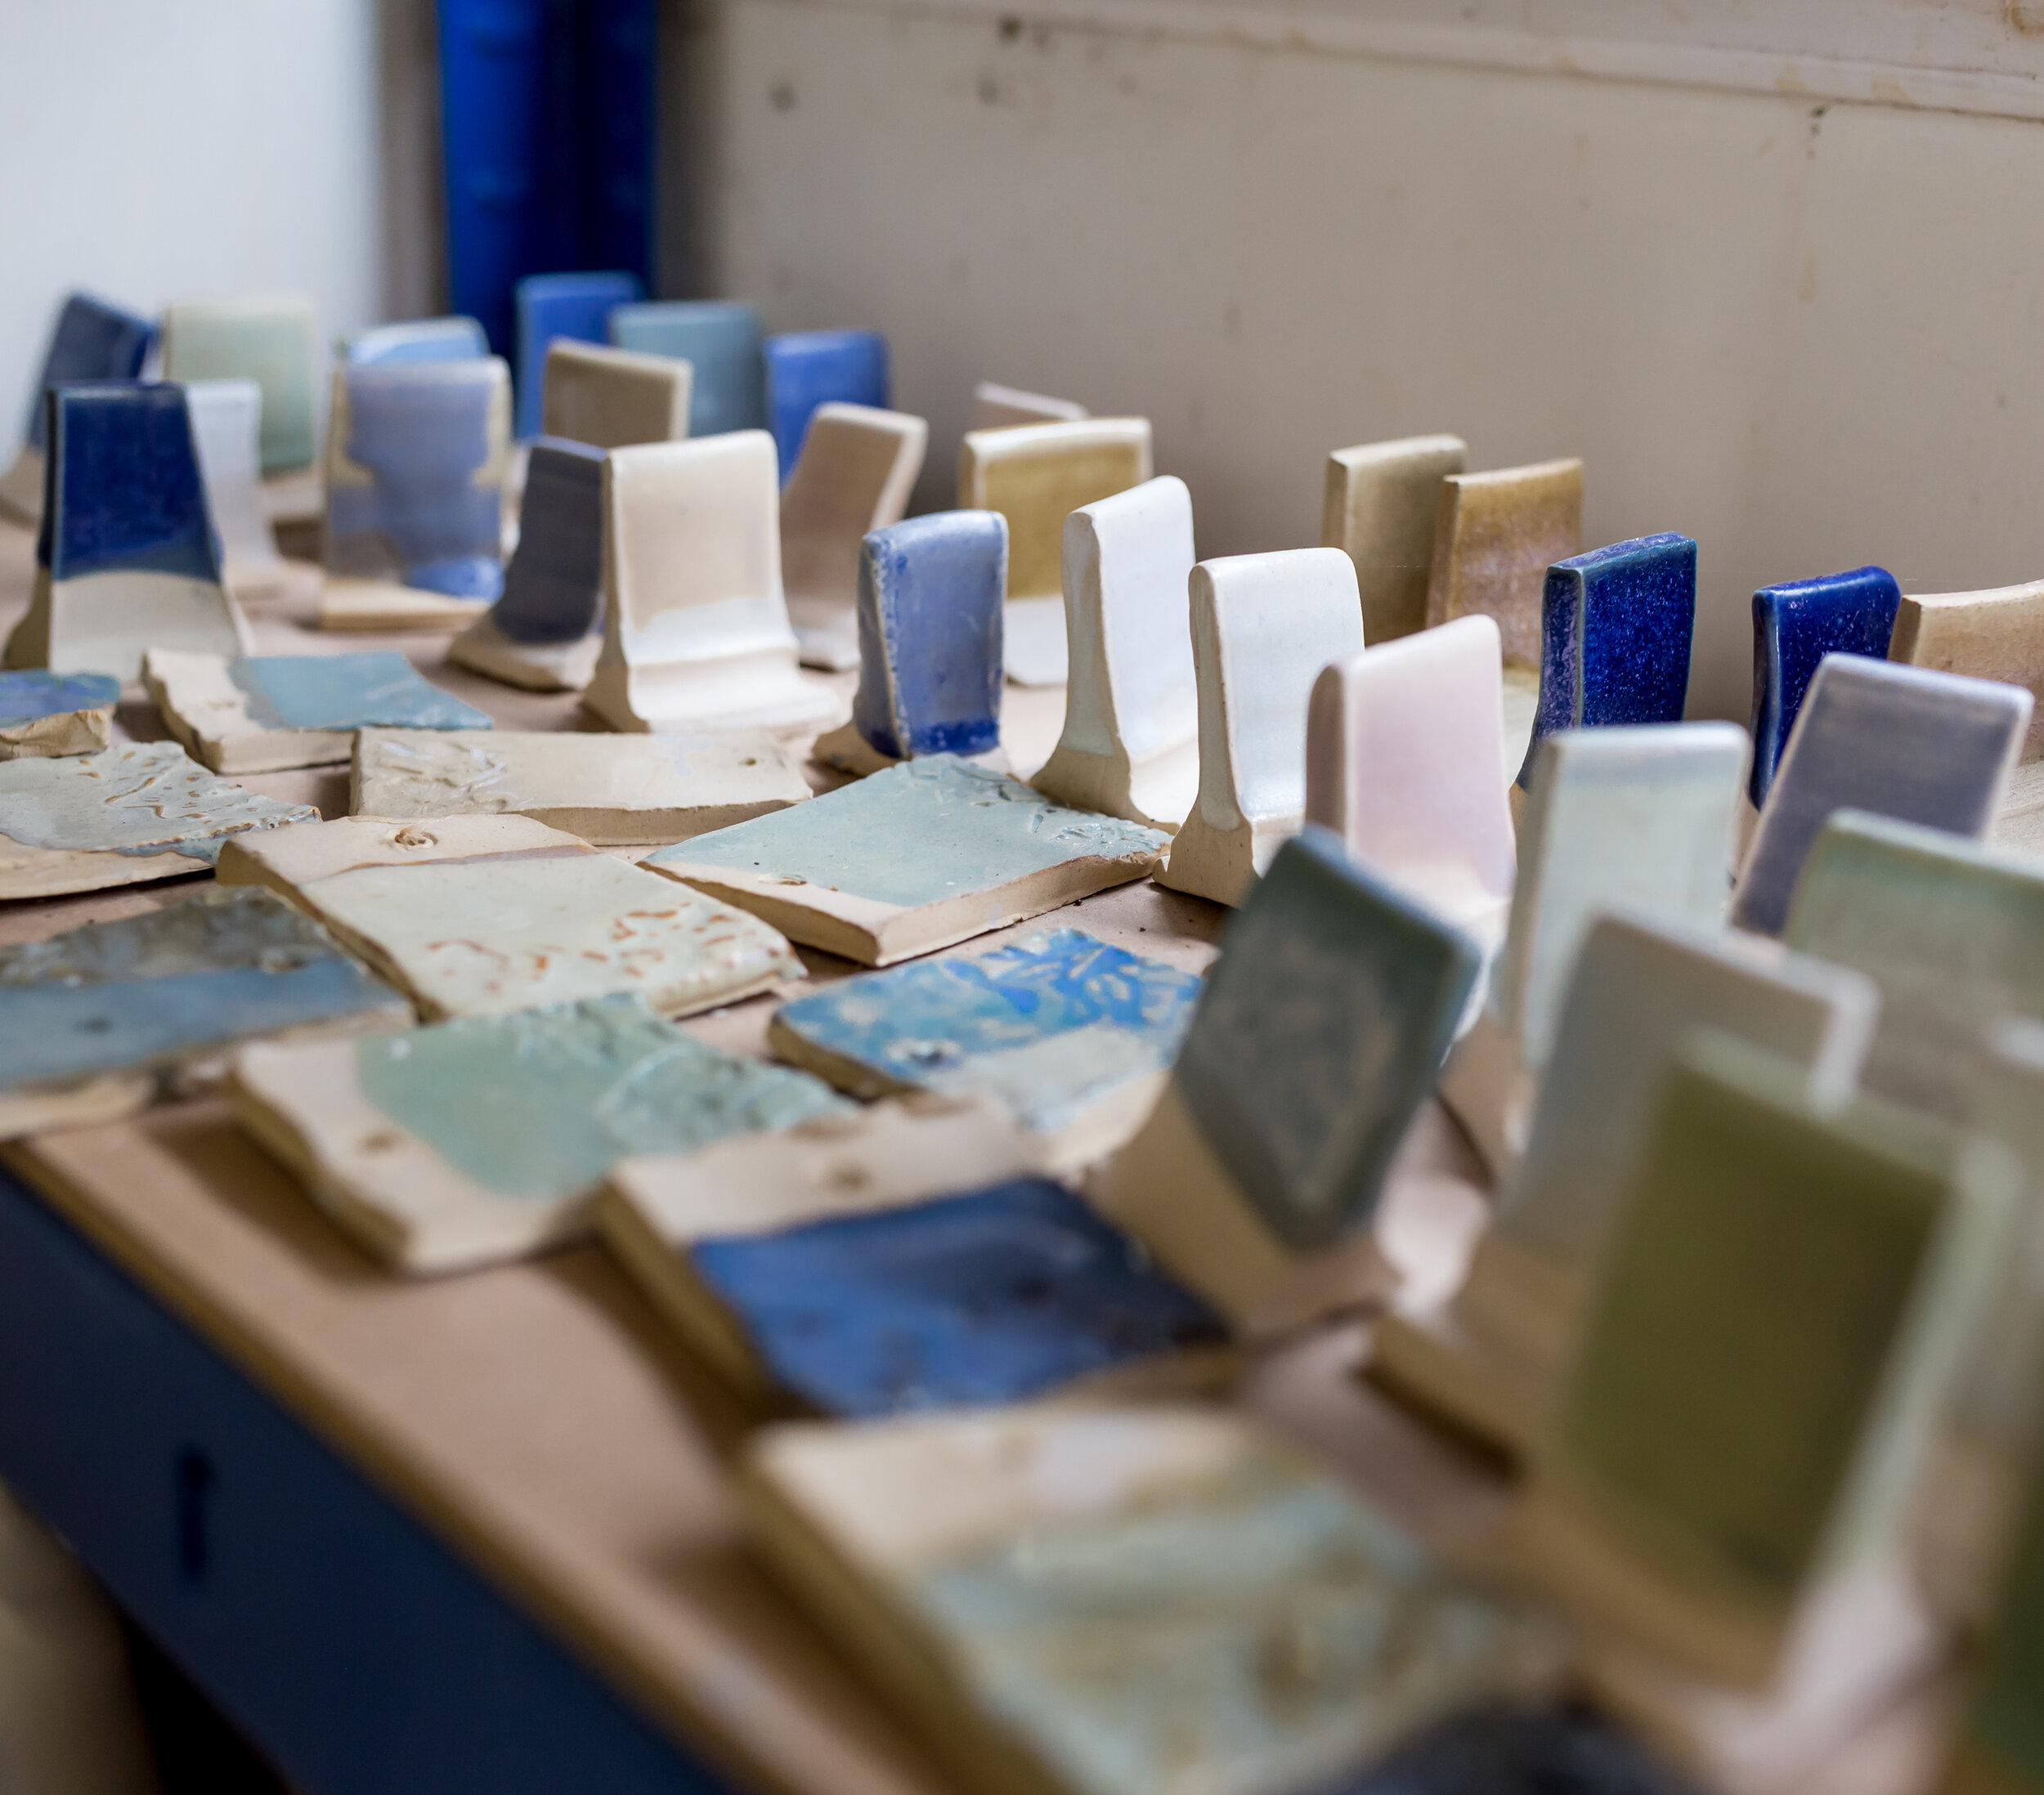
These hand built test tiles lie flat in the kiln and are great for testing out how glazes break and pool over texture and how glazes will look on flatware such as tiles, plates and platters.
1) Weigh out 1 pound (500 g) of clay. Wedge the clay lightly to get rid of any air bubbles.

2) Working on a wooden board, bash the clay with a rolling pin to flatten it to about 1 inch thick, this will make it easier to roll.
3) Place the clay between two thickness gauges, these are 1/4 inch thick. Roll out the clay using a wooden rolling pin until it’s flat and even.

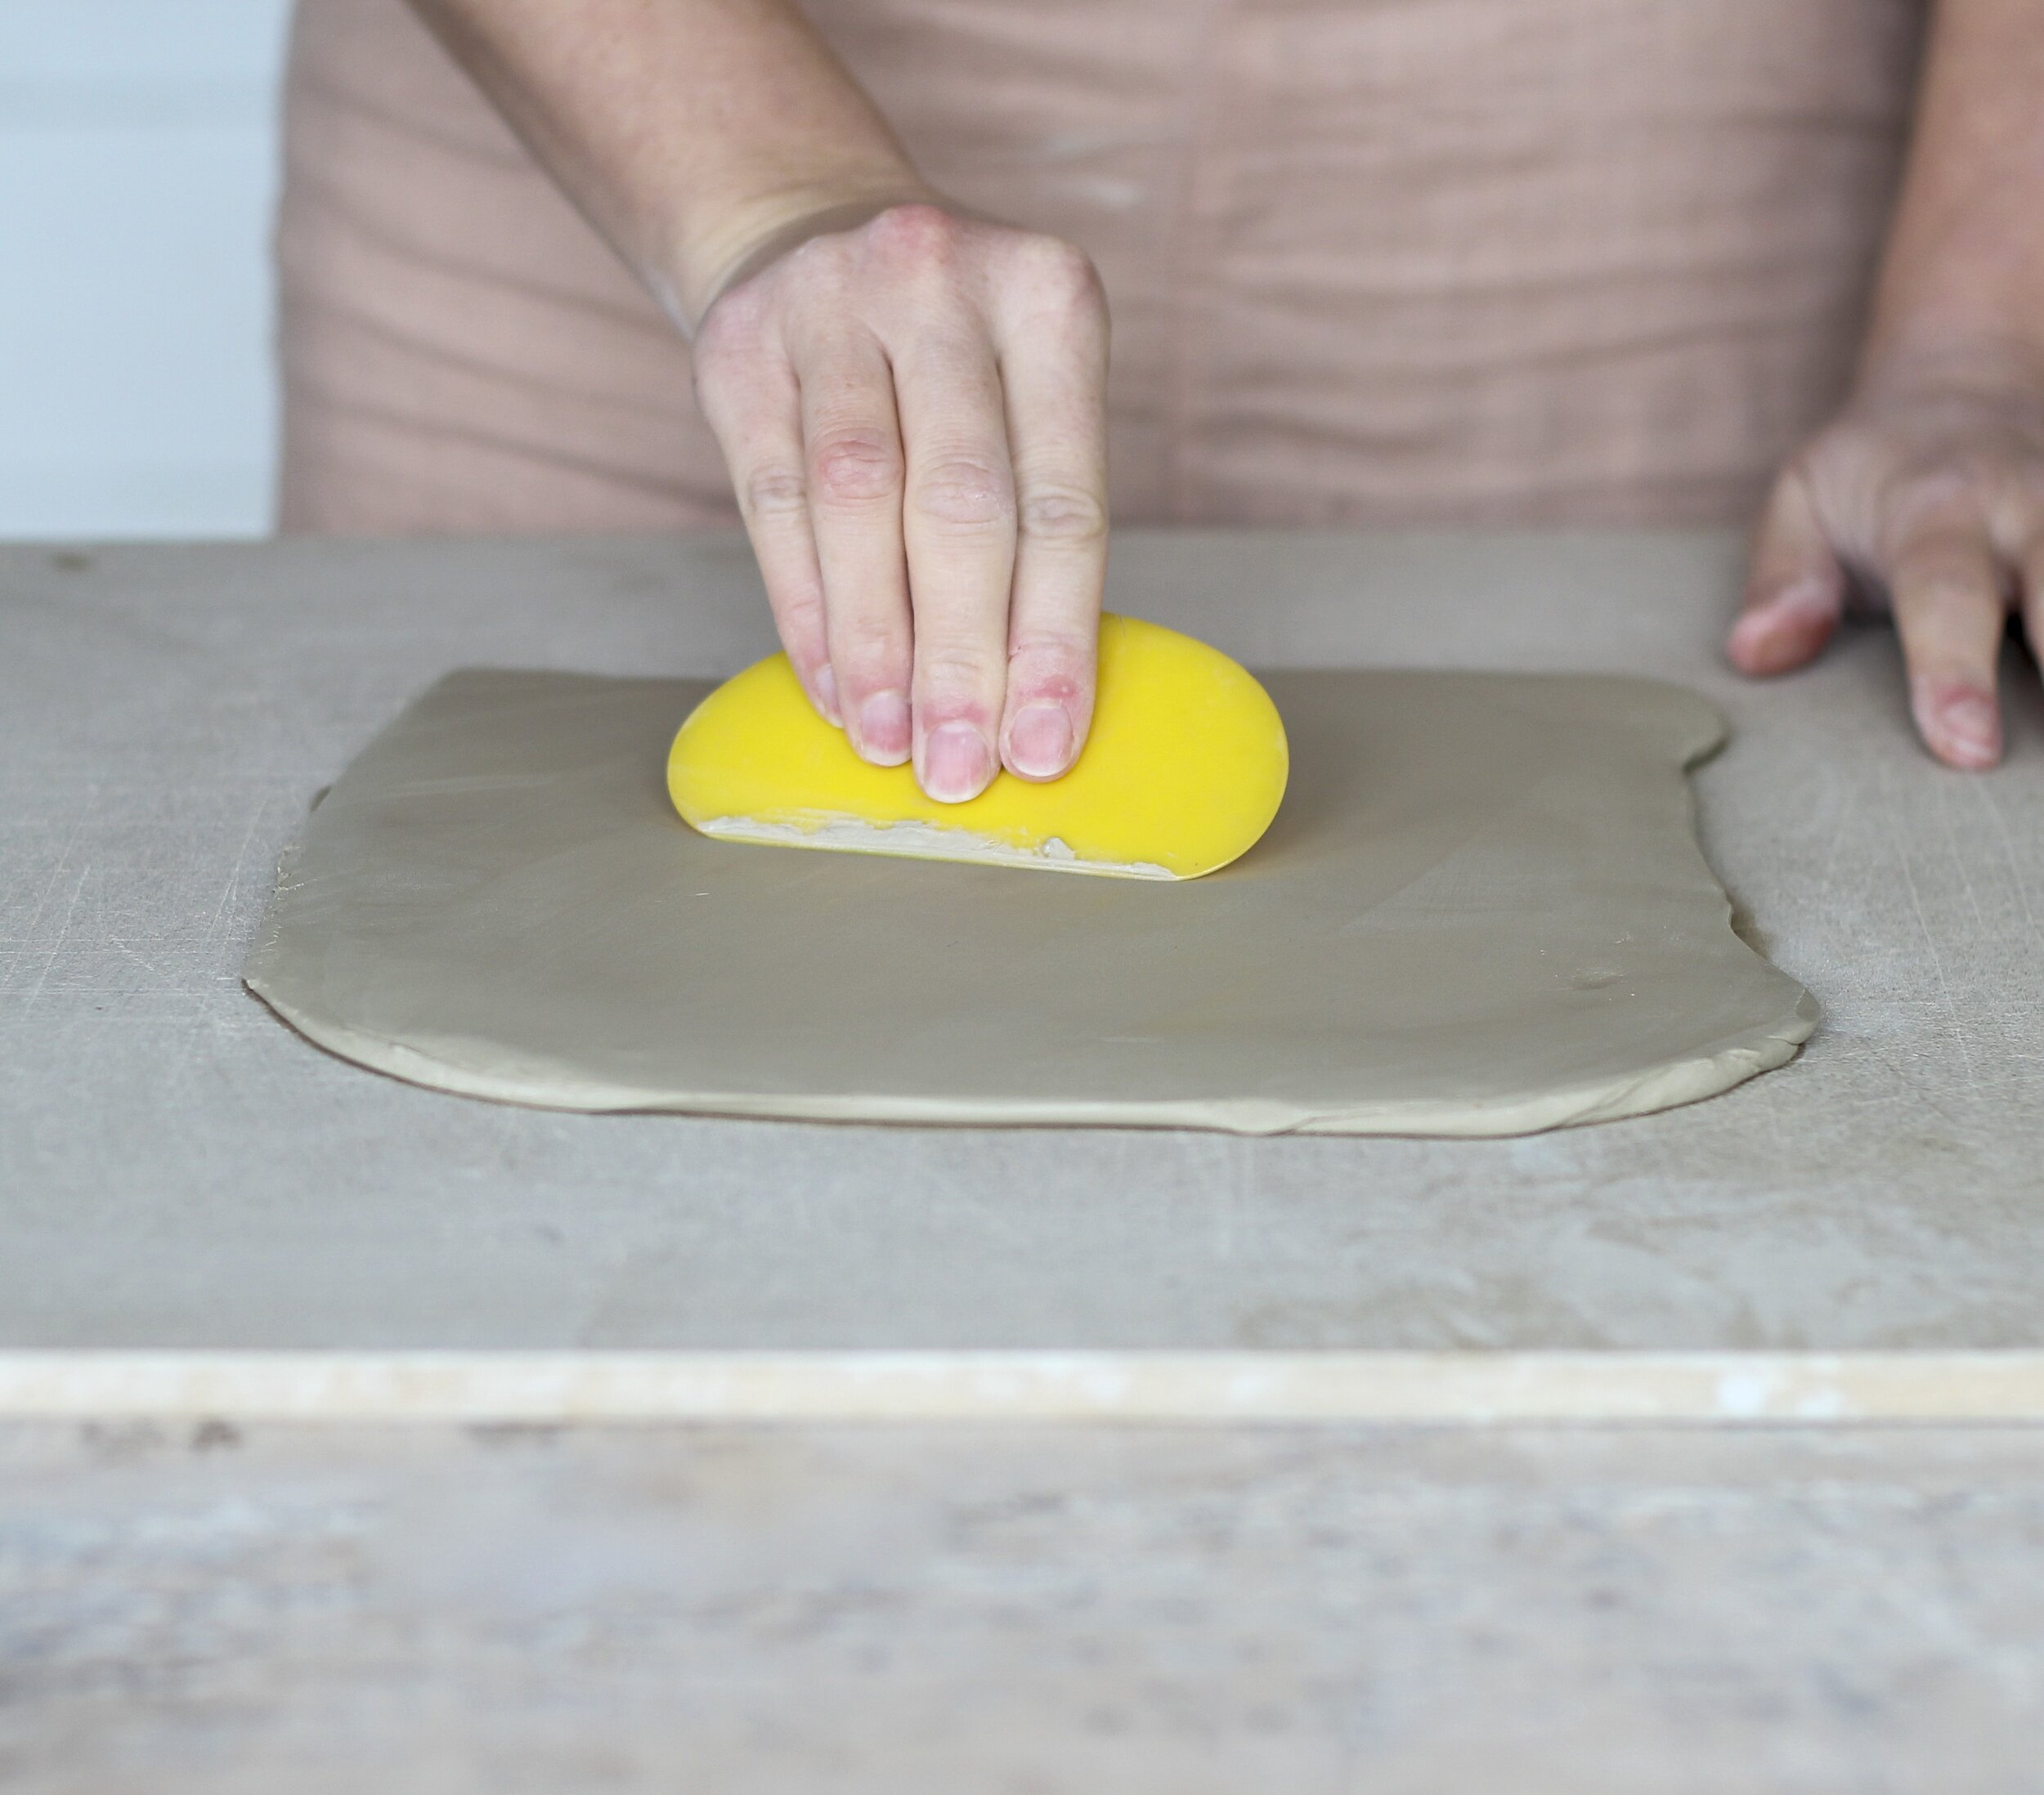
4) Use a rubber kidney to smooth the surface of the clay, this helps to reveal any air bubbles which you can then pop with a needle.
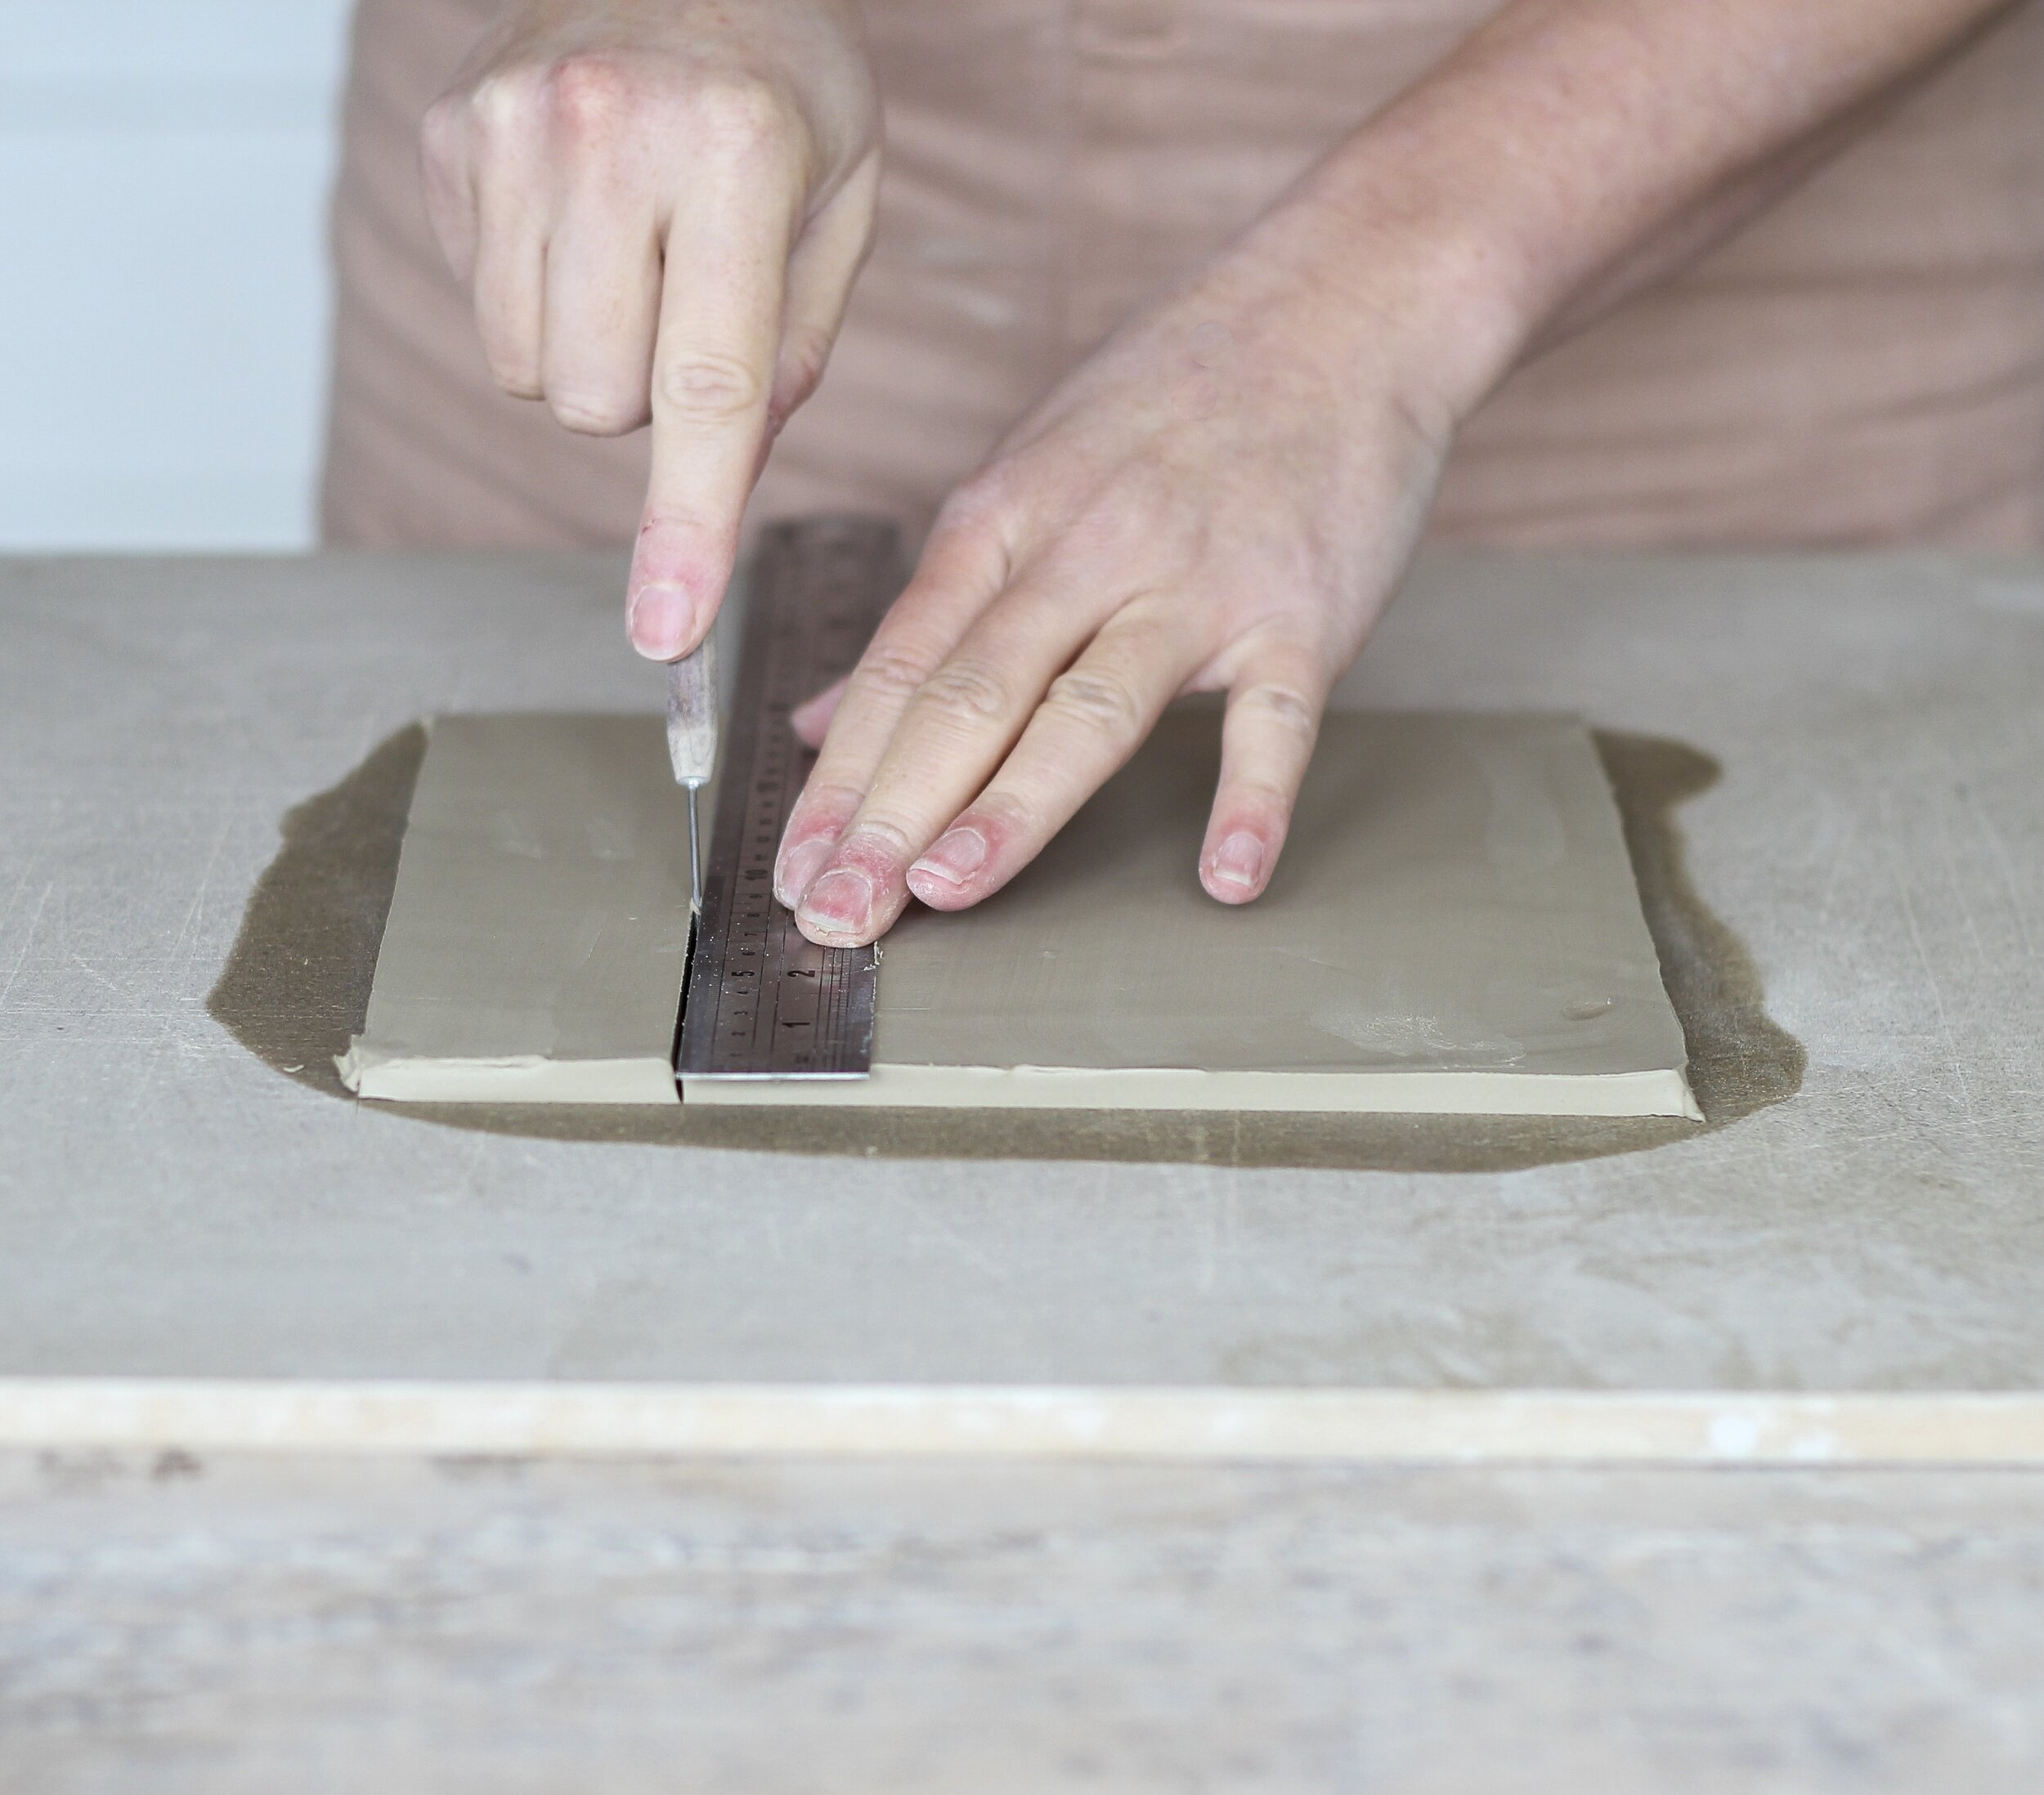
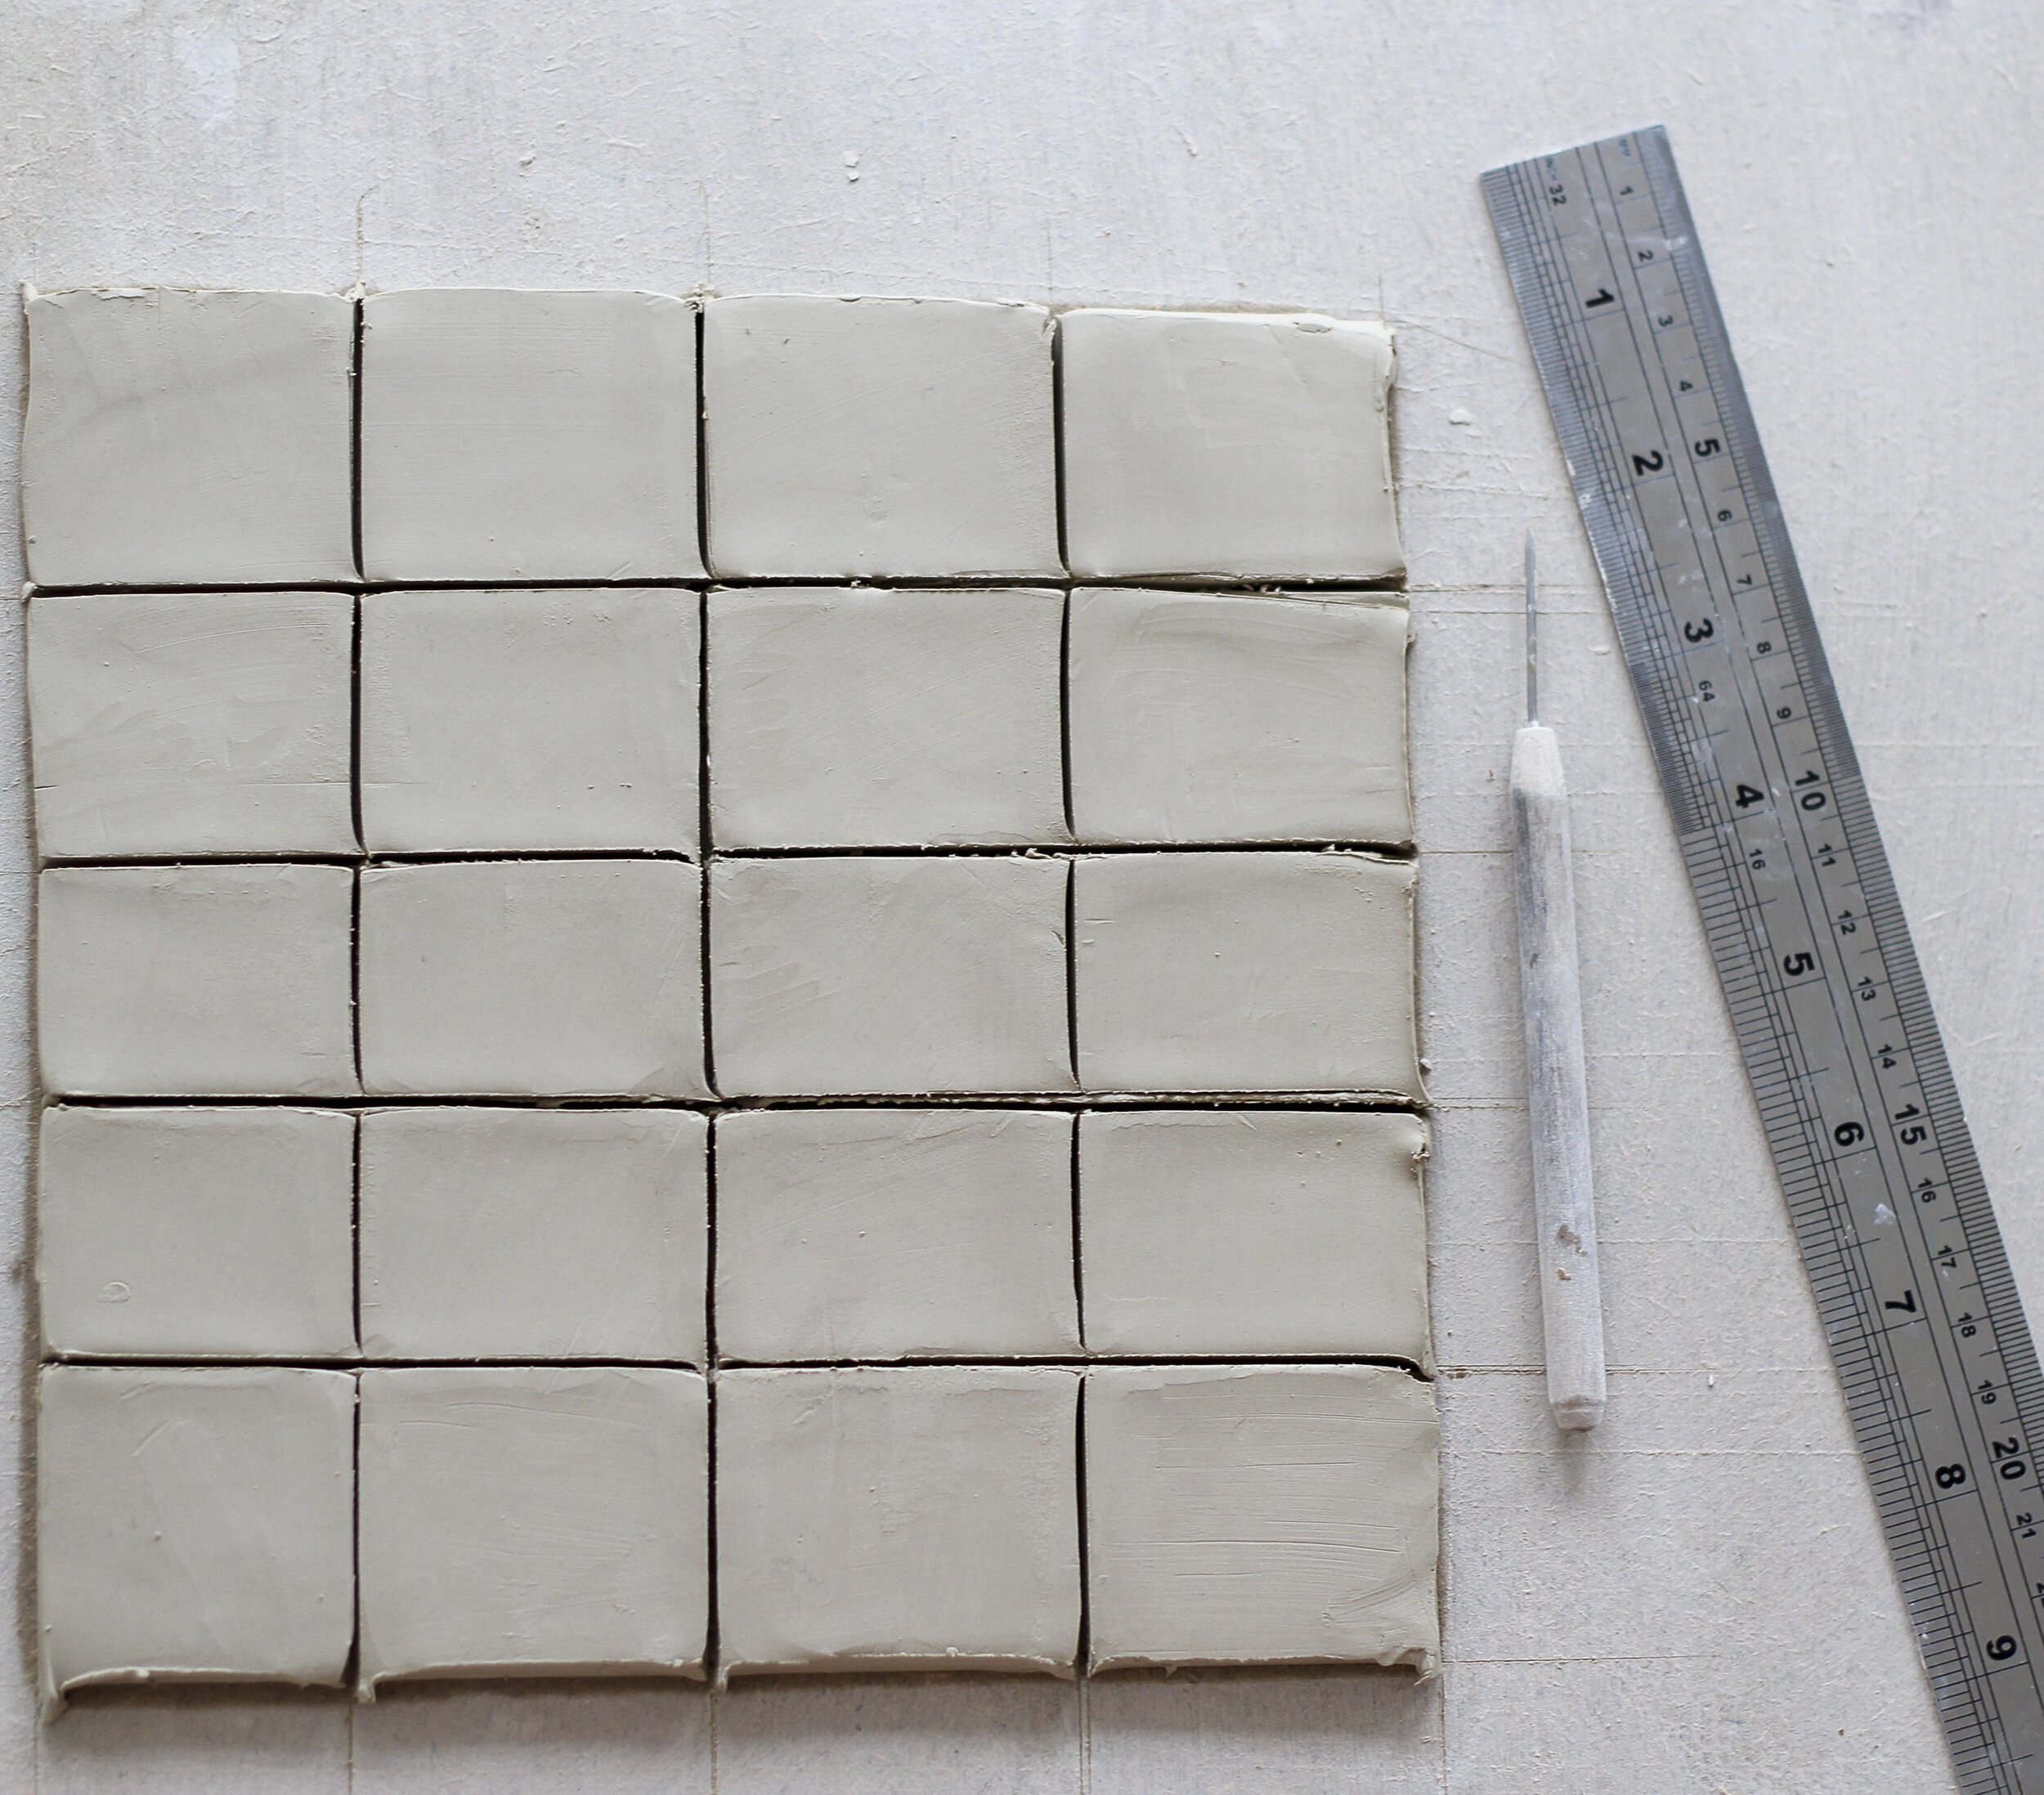
5) Using a ruler and a needle tool measure and cut the clay slab into equally sized tiles about 1.5 - 2 x. 2- 3 inches. They don’t particularly need to be neat, you can smooth over the edges with a damp sponge or your finger when they are leather hard if you wish.
6) Create holes in the tops of the tiles with your needle tool or a potters hole punch. This allows you to hang them on a board or by string to keep them organised in your studio. Be careful not to go too near the edge.